This post contains affiliate links
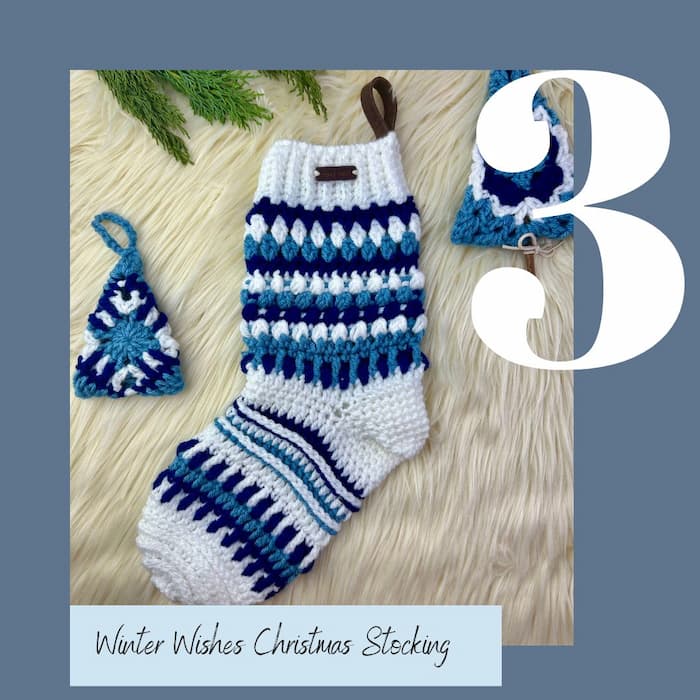
Make this winter-inspired festive crochet stocking to decorate your home not just for the holidays! Follow the step-by-step video tutorial and add a stunning Christmas decor piece.
There’s something undeniably magical about handmade holiday décor, and this crochet Christmas stocking pattern brings that magic to life.
This pattern is designed to be both festive and approachable in the making.
Crocheting your own stocking adds a personal touch to your holiday traditions.
Each loop and stitch becomes part of a memory, part of a story that can be passed down year after year.
Unlike store-bought stockings, a handmade one carries the warmth of time, creativity, and love woven right into the fabric.
It’s a way to slow down during a busy season, to savor a cozy evening with yarn in hand.
And to create something that will hang proudly on the mantel for many Christmases to come.
In this post, I’ll walk you through everything you need to know.
From choosing yarn and hook size to finishing touches that make your stocking truly unique.
Whether you prefer classic holiday or winter colors, rustic neutrals, or something bright and whimsical, this pattern is flexible enough to suit your style.
So grab your yarn, pour yourself a cup of something warm and delicious, and let’s dive in.
By the time you’re done, you’ll have a beautiful handmade stocking!
It will be ready to fill with treats, tiny surprises, and lots of cheer.
PIN THIS PAGE FOR LATER

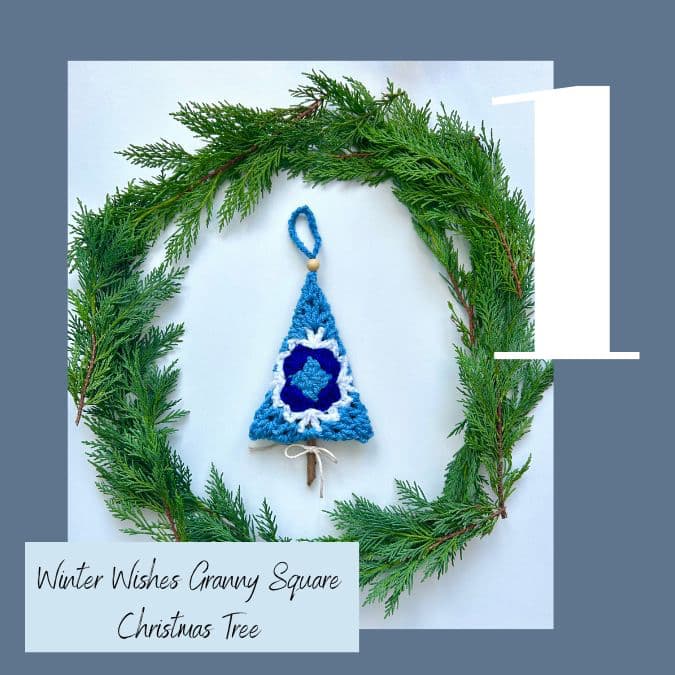
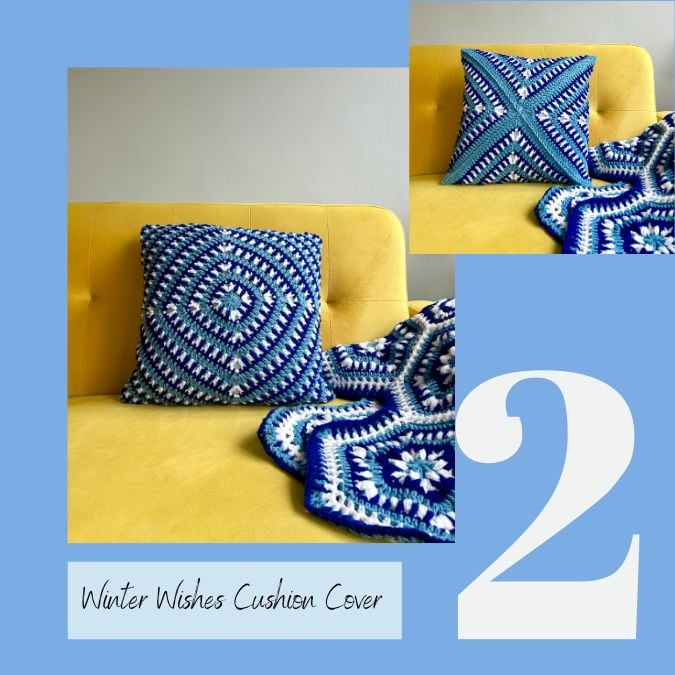
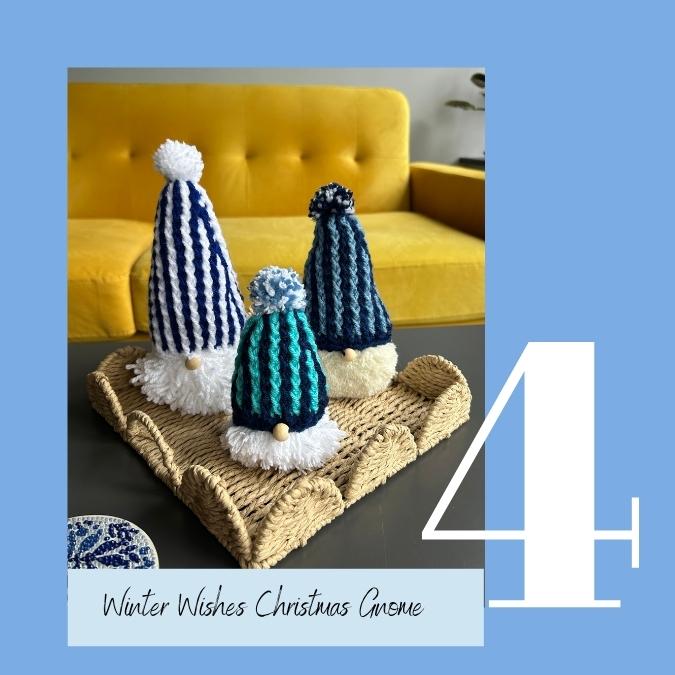
The Winter Wishes Pattern Collection
This festive crochet stocking pattern is part of The Winter Wishes Collection. You can grab the whole collection or opt for an individual PDF of the pattern from Etsy or Ravelry.
You have 2 different options of enjoying The Winter Wishes Pattern Collection:
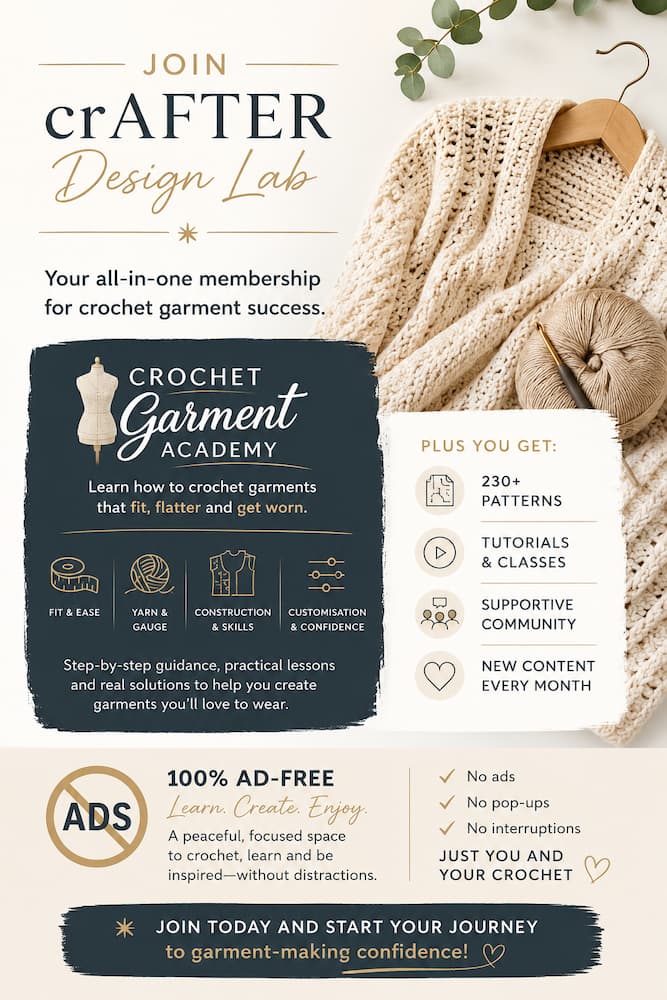
- inside The crAFTER Design Lab membership (includes 225+ crochet patterns, classes and tutorials)
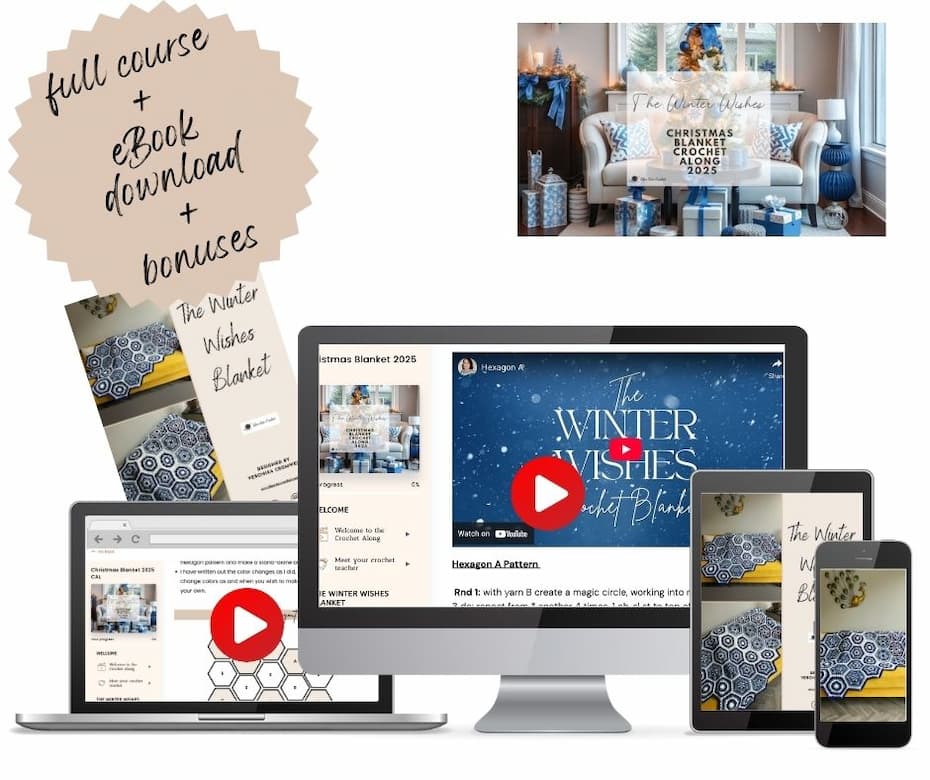
2. purchase the full Winter Wishes Blanket Course (including 5 bonus crochet patterns)
Purchase the full Winter Wishes Christmas Blanket Course! A step by step digital course to help you create a stunning Winter Wishes Christmas Blanket. It consists of 7 different hexagon designs, join-as-you-go technique and interlocking crochet border.
You can also download the full digital eBook of the patterns for crafting on the go.
PLUS there will be 5 awesome mystery bonus patterns that complement the blanket!
5 Mystery Bonus Crochet Patterns

Grab the ad-free PDF version from my pattern shops below:


Firstly, don’t forget to join my Facebook Community Group. Come and join a welcoming community of crocheters working on the same project as you!

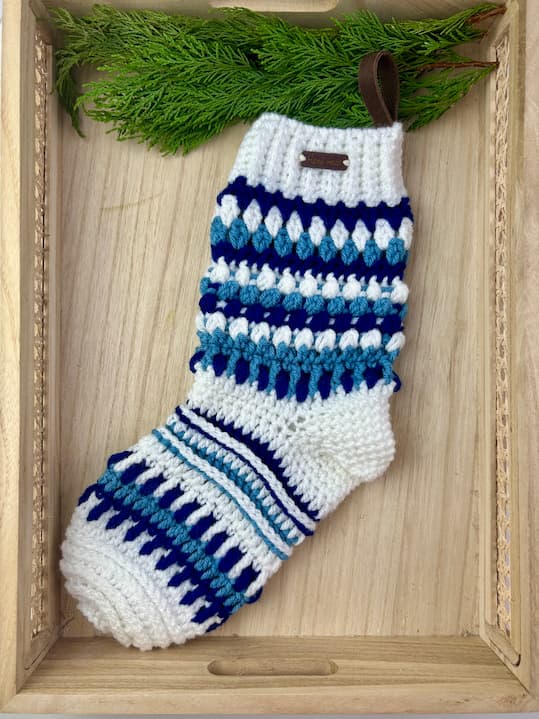
Festive Crochet Stocking For Christmas
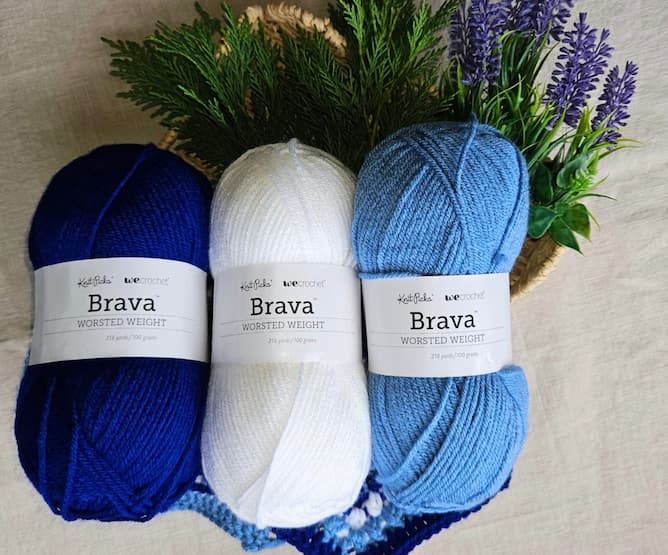
Materials
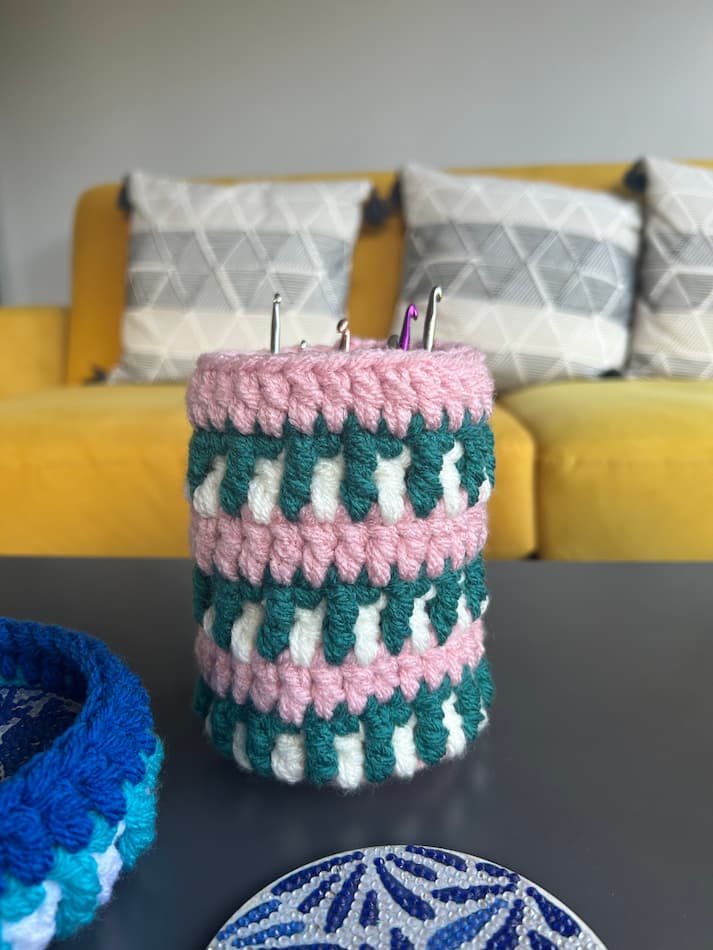
- Brava Worsted (category 4 / worsted weight; 100% premium acrylic; 218yds / 200m per 3.5oz / 100g) x 1 ball in each: White, Denim and Celestial
- 6 mm crochet hook
- Yarn needle
- Scissors
- Blocking T-pins
- Blocking Mats
- handmade tag
- leather strap ½ inch wide
Festive Crochet Stocking Suitable Yarn Substitutes
You can find alternative yarns below. I have picked out a few yarns that would work beautifully with the pattern.
Cygnet Aran – is an easy-care acrylic yarn available in a range of beautiful, classic shades. Cygnet Aran is as versatile as it is affordable, making it the perfect yarn to experiment with.
Mary Maxim Anti-Pill Worsted Yarn – The softest worsted weight yarn ever! 100% Anti-Pill Acrylic. Like new wash after wash!
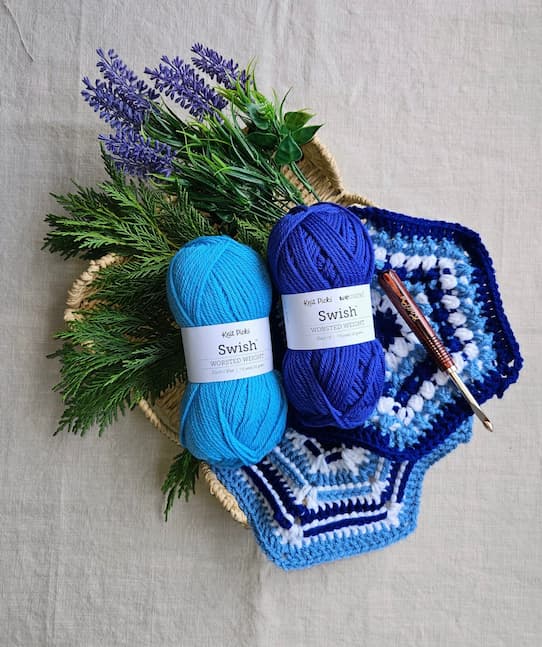
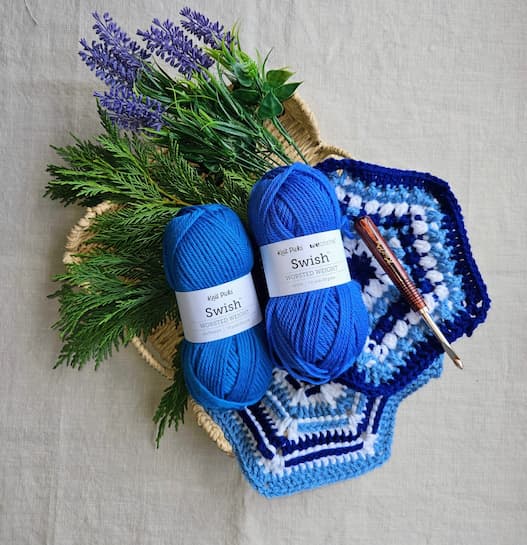
Swish Worsted – is the superwash of crocheters’ dreams! By selecting high-grade Merino wool (20.5 microns), we have been able to produce a machine-washable yarn that is super soft, definitely worthy of being worn against a baby’s skin. Just the ticket for children’s clothes, afghans, charity projects, and gifts.
Heatherly Worsted – With a blend of acrylic and Merino wool, Heatherly is the perfect choice for sturdy projects that require next-to-skin softness! Cheerful colors mixed with white provide a wide range of pastel heathers to choose from.
Herrschners Worsted 8 Yarn – This 100% acrylic yarn is perfect for afghans, sweaters, home décor projects, and more. Contains an easy-pull yarn tab for hassle-free starts to projects. This machine washable yarn is durable and looks great wash after wash.
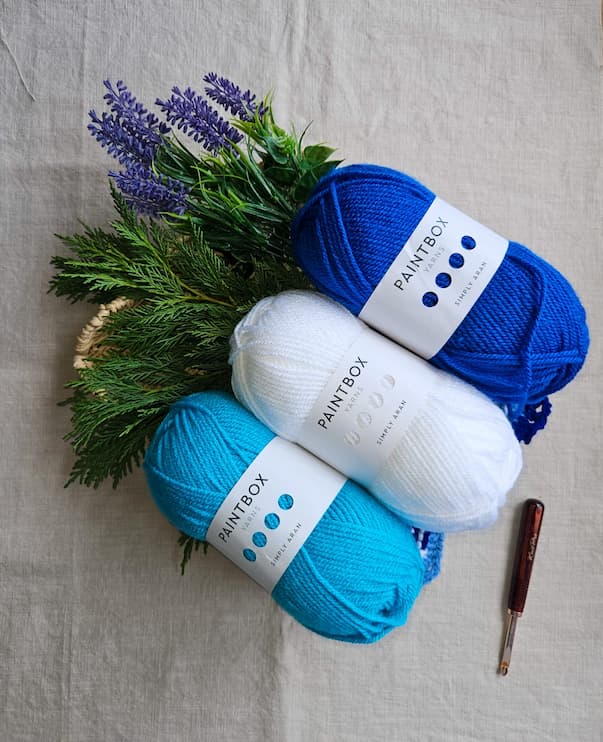
Paintbox Yarns Simply Aran – This soft, yet durable, yarn is fantastic value for money and is perfect for children’s clothes, blankets and toys. What’s more, with 60 colours to choose from you’ll be sure to find your perfect shade!
Tension/Gauge
14 dc x 8 rows = 10 x 10 cm/ 4 x 4 inch
Finished Size Of The Festive Crochet Stocking
the finished stocking measures 38 cm / 15 inch tall x 15 cm /6 inch wide

Festive Crochet Stocking Stitches And Abbreviations
The pattern uses US Crochet Terminology
mc – magic circle
yrh – yarn over hook
sl st – slip stitch
ch – chain stitch
ch-sp – chain space, specifically 1 ch-sp, 2 ch-sp etc.
rnd – round
prev – previous
rep – repeat
beg – beginning
st(s) – stitch(es)
sc – single crochet
sc blo – single crochet stitch worked through the back loop only
sc2tog – single crochet the following two stitches together to decrease
dc – double crochet
stand dc – standing double crochet used at the beginning of the round to replace beginning 3 ch
tr – treble crochet stitch
3-lp puff st – (yarn over, insert hook, pull up a loop, leave on hook) 3 times, yarn over, pull through 6 loops on hook, yarn over pull through the remaining 2 loops on hook
BPdc – back post double crochet – double crochet worked around the post of the stitch inserting hook from back to front to back
FP2dc cluster – yarn over, insert hook around the post of st, yarn over and pull up loop, yarn over, insert hook around the post of same st, yarn over and pull up a loop = 5 loops on hook, yarn over and pull through 4 loops on hook, yarn over and pull through remaining 2 loops on hook
Pattern Notes
- the stocking is worked toe up – starting with the toe, working the foot part before splitting your work to allow for an afterthought heel, then work up the leg part finished off with the cuff
- the toe is worked in hdc tlo to create an extra texture in joined rounds as a circle
- you will increate the toe circle until you have 36 stitches
- if you would like to make the stocking bigger, you can continue increasing the size of the circle which will increase the overall size of the stocking
- the foot and leg part are worked in various textured stitches changing color to create an interesting fabric
- after completing the foot section we will split the stocking to create an opening for a heel
- the heel is worked after finishing the main body of the stocking as an afterthought heel – you will work around the heel opening decreasing on either side to create the heel
- the stocking is then finished off with a cuff worked in sc blo to create a ribbed cuff
Festive Crochet Stocking Video Tutorial
I have also filmed a step by step video tutorial for this festive crochet stocking pattern.
You can watch the video tutorial right here on the blog, click on the purple play button to start.
Please note: you won’t be able to see the video player is you have an ad-blocker enabled.
Alternatively, you can watch the video tutorial on my YouTube channel. Don’t forget to like and subscribe!
Festive Crochet Stocking Main Written Pattern
The stitches in bold brackets at the end of each round are stitch counts, they do not indicate to work those stitches.
Festive Crochet Stocking Toe
Rnd 1: with White create a magic circle, working into mc 2 ch (counts as first hdc here and throughout the toe) 11 hdc into the mc, sl st to top of beginning 2 ch to join.
[12 hdc]
Rnd 2: 2 ch, 1 hdc in same st, 2 hdc tlo into each st around, sl st to top of beginning 2 ch to join.
[24 hdc]
Rnd 3: 2 ch, 2 hdc tlo in next st, (1 hdc tlo, 2 hdc tlo in next st) repeat around, sl st to top of beginning 2 ch to join.
[36 hdc]
Rnd 4 – 6: 2 ch, 1 hdc tlo around, sl st to top of beginning 2 ch to join.
[36 hdc]
Foot
Rnd 7: 1 stand dc, *1 ch, skip next st**, 1 dc in next; repeat from * around ending last repeat at **, sl st to top of first stand dc to join. Fasten off.
Rnd 8: join Celestial in first st, 1 ch (doesn’t count as a st), 1 sc in same st, *1 FPtr worked into skipped st 2 rnds below working to the front of 1 ch-sp**, 1 sc into top of next st; repeat from * around ending last repeat at **, sl st to top of first sc to join. Fasten off.
Rnd 9: join Denim in any st, 1 stand dc, 1 dc into each st around, sl st to top of first stand dc to join. Fasten off.
Rnd 10: join Celestial in any st, 3-lp puff st, *1 ch, skip next dc**, 3-lp puff st in next; repeat from * around ending last repeat at **, sl st to top of first 3-lp puff st to join. Fasten off.
Rnd 11: join White in first 3-lp puff st, 1 ch (doesn’t count as a st), 1 sc in same st, *1 FPtr worked into skipped st 2 rnds below working to the front of 1 ch-sp**, 1 sc into top of next 3-lp puff st; repeat from * around ending last repeat at **, sl st to top of first sc to join.
Rnd 12: 1 stand dc, 1 dc into each st around, sl st to top of first stand dc to join. Fasten off.
Rnd 13: join Denim in any st, 2 ch (doesn’t count as a st), 1 BPdc around each st around, sl st to top of first stand dc to join. Fasten off.
Rnd 14: join White in any st, 1 stand dc, 1 dc in each st around, sl st to top of first stand dc to join. Fasten off.
Rnd 15: join Celestial in any st, 2 ch (doesn’t count as a st), 1 BPdc around each st around, sl st to top of first stand dc to join. Fasten off.
Rnd 16: join White in any st, 1 stand dc, 1 dc in each st around, sl st to top of first stand dc to join.

Splitting For Heel
Rnd 17: 1 ch (doesn’t count as a st), 1 sc in first st, 18 ch, skip next 18 sts, 1 sc in next and each st to end, sl st to top of first st to join.
Rnd 18: 1 stand dc, 1 dc into each st around the circumference working across the foundation chain, sl st to top of first dc to join. Fasten off.
[36 dc]
To unlock Exclusive Subscriber content click on the “Sign Up For Free” button in the box below! The Grow.me App window will pop up so you can subscribe.
To create an account you can either sign in with your existing Google or Facebook account. Alternatively, you can create an account with an email address and new password.
Every time you see “Unlock Exclusive Content” on my blog, you can just log in to your Grow account. All you need to do is press the “switch to login” button in the top right corner.
If you’ve forgotten your password, click the forgot password link and follow the instructions on how to reset your password.
Unfortunately, I am unable to assist in resetting Grow passwords or accessing your Grow account.

Cuff
Join White in any st, chain 9.
Row 1: working across the foundation chain just made, start in 2nd ch from hook, 1 sc across, sl st into same st on main stocking, sl st into next st on main stocking, turn.
Row2: 1 ch (doesn’t count as a st), 1 sc blo across to last st, 1 sc in last, turn.
Row 3: 1 ch, 1 sc in first st, 1 sc blo across to end, (sl st into next st on main stocking) twice, turn.
Repeat Rows 2-3 around the whole stocking until all stitches are used up.
Then line up the last row with the stitches on the underside of the foundation chain and slip stitch together to form a full cuff. Fasten off.

Heel
With right side facing join White in first skipped stitch at the bottom right corner of the heel opening.
Working along the sole, 1 ch, 18 sc across the sole, PM in last st made, 18 sc across the other side of the foundation chain, PM in last st made, sl st to top of first st to join.
Move stitch markers up as you work.
Rnd 1: 1 ch, 1 sc2tog, 1 sc into every st across to 2 sts before the stitch marker, 1 sc2tog, 1 sc in marked st, 1 sc2tog, 1 sc into every st across to 2 sts before next stitch marker, 1 sc2tog, 1 sc in marked st, sl st to top of first st to join. [32 sc]
Rnd 2: 1 ch, 1 sc in every st around moving markers up as you work, sl st to top of first st to join.
[32 sc]
Rnd 3: 1 ch, 1 sc2tog, 1 sc into every st across to 2 sts before the stitch marker, 1 sc2tog, 1 sc in marked st, 1 sc2tog, 1 sc into every st across to 2 sts before next stitch marker, 1 sc2tog, 1 sc in marked st, sl st to top of first st to join. [28 sc]
Repeat Rnds 2 – 3 another 3 times.
[16 sc]
Fasten off leaving a longer tail end.
Using the tail end and yarn needle, sew the heel opening closed using whip stitch. Sew in ends securely.

Finishing Touches
You can sew on a leather loop to the top of the cuff to be able to hang the stocking up.
Alternatively you can add a foundation chain as long as needed to the top as a loop.
I added a “Handmade” wooden button to the top to finish my stocking off (optional).
Final Thoughts
I hope you will join me and crochet this stunning hexagon winter crochet blanket together.
You might also like these crochet patterns:
- Free Textured Crochet Christmas Stocking Pattern
- Free Crochet Christmas Appliqués Patterns
- 10 Free Crochet Christmas Decoration Patterns
- 10 Amazing FREE Crochet Christmas Wreath Patterns For …
SHARE – If you think your crafty friends will like this pattern, why not share the link with them? Alternatively, you can also share a direct link to this pattern on your social media so more people can crochet with us. Follow me on Facebook or Instagram and use #bluestarcrochet
PIN – do not forget to pin this page to your favorite Pinterest Board so you can easily find it later too.
JOIN – join like-minded crocheters working on my projects inside the Blue Star Crochet Facebook Community Group
SUBSCRIBE – It’s such an honour to share my crochet patterns with you and to be part of your creative journey. I’d love to stay connected and keep you inspired with new patterns, special discounts, and little surprises along the way. Sign up for my email newsletter & join a community of makers and enjoy a free gift as a thank-you for being here!

Veronika Cromwell | Blue Star Crochet
Veronika is a master in modern crochet design.
With a relentless focus on innovation and a vision that knows no bounds, she meticulously hones her crochet expertise she shares via crochet patterns, tutorials and online courses.
She helps the knowledge-thirsty crocheters bulldoze their way through hundreds of crochet techniques effortlessly and with ease like sharp scissors cutting thread.
Creating timeless fashion pieces without the “use-by-date” that stand the test of time in modern world is her lifelong mission.
Featured in Inside Crochet, Simply Crochet, Crochet Now and Happily Hooked and other awesome spaces on the internet, you too can join the crochet revolution!
Join her as she conquers the crochet world, one stitch at a time.